|
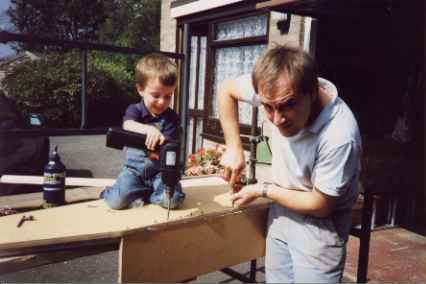
| I bought a set of plans and the build manual for £ 45 and with the aid of my son I started to build the wooden body tub. I used 3/4 inch marine ply. The joints were glued, screwed and reinforced where necessary with 1 inch aluminium angle. The only change I made from the instructions was an aluminium propshaft tunnel top. |
|
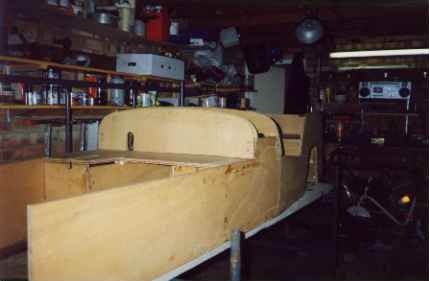
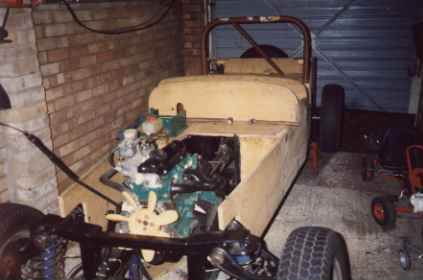
| The completed body was then put to one side after painting all the under-side with black rubberised roofing paint purchased from B&Q. (This was also used on the underside of the fibreglass wings to protect from stone chips). By this time I had preppared all the running gear and placed an order for the chassis. I also bought all the fibreglass, a windscreen and mounts, pedal box, rear axle kit, petrol tank, roll over bar, and a spare wheel carrier. |
|
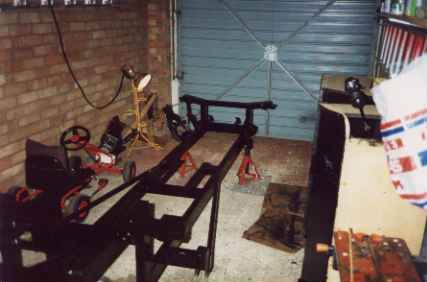
| On reciept of the chassis it was given a coat of black smoothrite paint. |
|
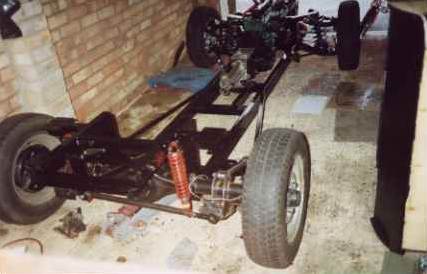
| After welding the 'axle clamps' to the rear axle the running gear was then fitted to the chassis. The steering rack had to be lengthened on one side. |
|
| After fitting the petrol tank the rear luggage compartment floor was removed and the roll over bar bolted directly to the chasis. The luggage compartment floor was split into two pieces and refitted. The gear leaver extension was made as described in the build manual using an old gear lever remote mounted in the tunnel. The pedal box was then given a trial fit for location before the tub was skinned. |