Restoration Part 13
Sills
On Thursday I finished off the passenger side of the car a small patch to the rear wheel arch was required this was welded in then sealed with seam sealer. The new panels and repair sections were then givern an other coat of primer.
The fist task on Saturday was to turn the car over to gain access to the driver's side sill. I then examined the underside and the sill.
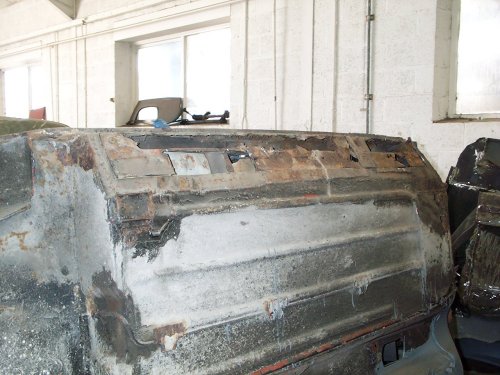
Déjà vu or what? The procedure I would need to undertake was exactly the same as that performed on the passenger side. The sills had been plated over with 6 large sections of steel this time. I knew a little bit more about how the car was constructed by now, so with the aid of Richard's 9" angle grinder fitted with a cutting disc I cut the existing repaired sill straight off. I left about an inch all round the edge to be trimmed off later. The 9" grinder made short work of the task.
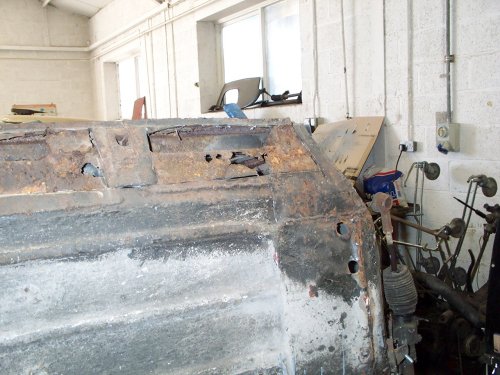
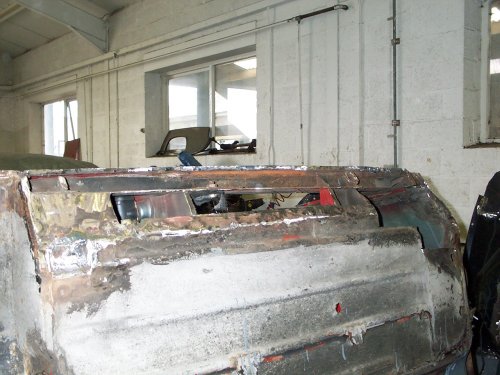
I continued with cutting out the rotten metal from both the inner and outer sills. Just like the passenger side the inner sill top edge was sound until about an inch below the bend in the metal. The new outer sill was the extra wide type so the metal was cut back to where the inner sill joined the floor. The footwell was worse at this side so I decided to fit a new footwell panel instead of trying to patch repair the existing one.
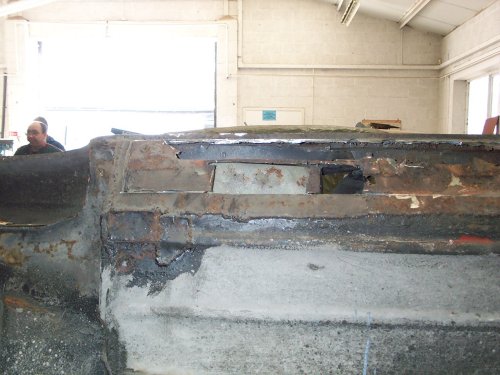
I cleaned up the inner faces of the sills and started the repairs. The first thing to be repaired was the rear most inner sill where the rear bin is located. A new section was made and welded in place. The weld was a bit poor and that was when I noticed the gas had run out.
My Mini Mayfair
Restoration
- 1 - Initial Inspection
- 2 - Boot Floor 1
- 3 - Boot Floor 2
- 4 - Boot Floor 3
- 5 - Rear Valance
- 6 - Body Stands & Engine Removal
- 7 - Front End Removal
- 8 - Bulkhead 1
- 9 - Bulkhead 2
- 10 - Sills 1
- 11 - Sills 2
- 12 - Sils 3
- 13 - Sills 4
- 14 - Footwell
- 15 - Floor
- 16 - Battery Box
- 17 - Underside
- 18 - Underside protection
- 19 - A Panels
- 20 - Wings & Front Panel
- 21 - Front Panels & Arches
- 22 - Rear Subframe
- 23 - Return From Paint
- 24 - Brakes
- 25 - Wiring
- 26 - Engine 1
- 27 - Engine 2
- 28 - Fitting Engine
- 29 - Interior, Glass, Lights
- 30 - Wheels & Tyres
- 31 - Finishing Touches