Restoration Part 3
Boot Floor Continued
The work below was carried out on the Thursday night and Saturday of week 5.
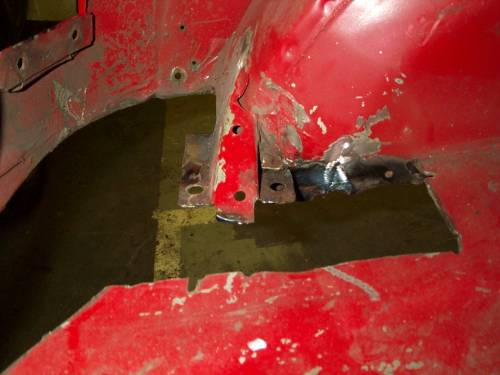
The previous week I had cut out the corrosion. This week I needed to tidy up the rear subframe mounting brackets and start making a repair panel.Thursday night consisted of grinding down the brackets to remove the bottom 2 layers of steel. This took all night .On Saturday I started to fabricate a floor repair panel. I used a repair panel that Jason had as a template.
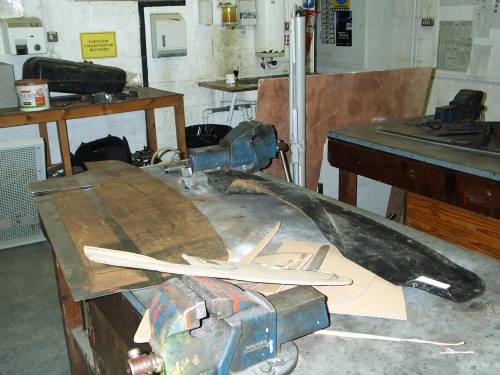
Kevin said it would be easier to make the repairs using 3 panels but I decided to try to make the full panel. The panel was cut out using an air nibbler, this made short work of the job.
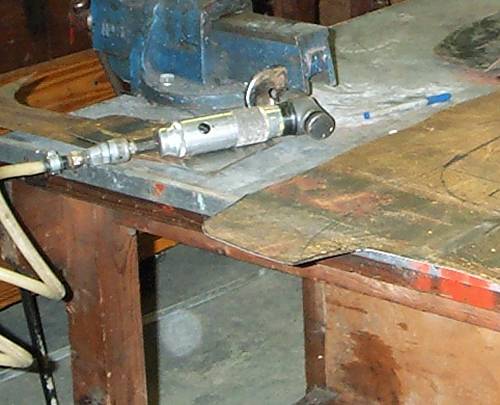
Once the panel had been cut to size a cardboard template was made for each corner. This template was cut to shape and used to work out where lips and bends would be needed. The details were then transferred to the metal panel and it was bent into shape. The panel was then offered up to the car for trial fitting. Both corners were dealt with in the same way. It was when trying to keep both sides in place when shaping when I decided that Kevin was correct and I split my panel into 3. The two sides and the rear center. It was much easier to work with the smaller size pieces. The drivers side was made first. I decided to have the seam weld on the inside in the boot as it would be much easier to weld it from the top. The edge of the repair panel was joggled with a special tool so a small recess the thickness of the steel is formed to allow the panel edges to overlap without making a step. It was now that I told Kevin that I had never used a MIG so he showed me how. I practiced on some joggled pieces of steel the same thickness as I would be using. It seems that using a MIG is all about getting the wire feed to the correct speed together with the right amount of power. I practiced for about half an hour and after that time I was making acceptable welds. They may not have looked terribly nice but they were serviceable. They would look better when the seam sealer had been applied. The drivers panel was clamped into place ready for welding. I had used an arc welder before so I knew that the work had to be tightly clamped to make the welding easier, the edges of the metal were less likely to burn. The panel was tacked in place and then welded all round the joins. I only blew one hole in the first side near the back edge. This hole was left to be dealt with later. I was quite pleased with the result.
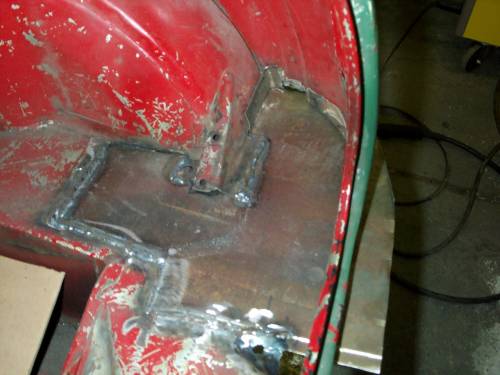
The other side was dealt with in the exact same way. This time my welding wasn't quite as neat and I blew 2 small holes funnily they were in the new metal that was being welded in. Kevin showed me how to fill the holed using a spotting technique.
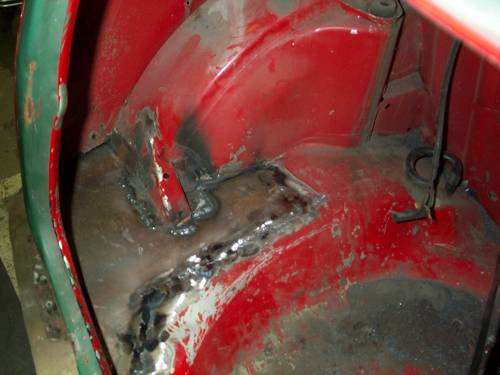
The center section will be dealt with next time.
My Mini Mayfair
Restoration
- 1 - Initial Inspection
- 2 - Boot Floor 1
- 3 - Boot Floor 2
- 4 - Boot Floor 3
- 5 - Rear Valance
- 6 - Body Stands & Engine Removal
- 7 - Front End Removal
- 8 - Bulkhead 1
- 9 - Bulkhead 2
- 10 - Sills 1
- 11 - Sills 2
- 12 - Sils 3
- 13 - Sills 4
- 14 - Footwell
- 15 - Floor
- 16 - Battery Box
- 17 - Underside
- 18 - Underside protection
- 19 - A Panels
- 20 - Wings & Front Panel
- 21 - Front Panels & Arches
- 22 - Rear Subframe
- 23 - Return From Paint
- 24 - Brakes
- 25 - Wiring
- 26 - Engine 1
- 27 - Engine 2
- 28 - Fitting Engine
- 29 - Interior, Glass, Lights
- 30 - Wheels & Tyres
- 31 - Finishing Touches