Restoration Part 28
Fitting Engine
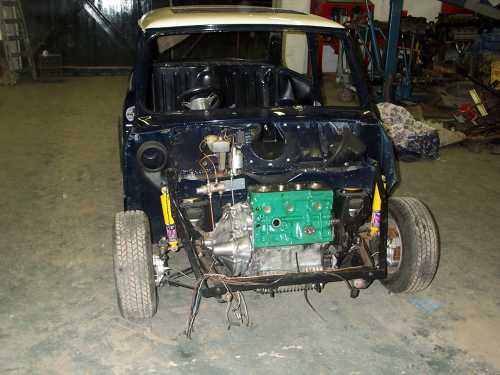
Putting the engine in the car was a relatively easy excercise as I can remove the whole flip front to gain full uninhibited access to the front of the car.
I used quickfit/release polyeurethane engine mounts.
The original engine steady bar mounting had rusted away so I made up a new one.
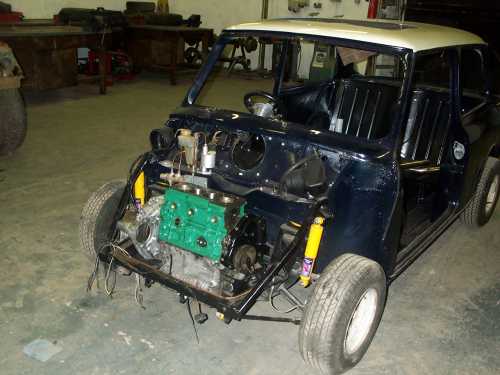
The mounting was attached to the bulkhead cross member using the clutch master cylinder mounts in the same manor as the after market 'Ultimate Engine Steady Kits. I also whave one of these to fit later on as it attaches to the thermostat housing.
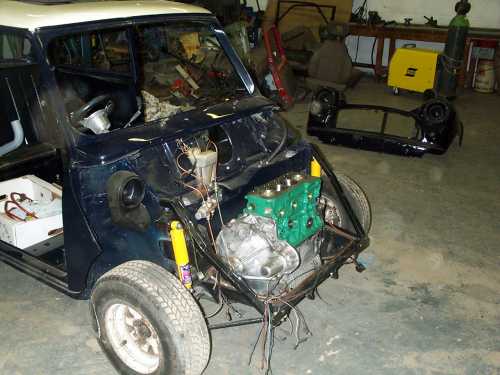
The cylinder head I am using is from an MG Metro and so it is fitted with the larger 1.4" inlets. I have two of these so one has been examined and rebuilt it will be run with leaded petrol additives until I decide if I should convert to unleaded.
My Mini Mayfair
Restoration
- 1 - Initial Inspection
- 2 - Boot Floor 1
- 3 - Boot Floor 2
- 4 - Boot Floor 3
- 5 - Rear Valance
- 6 - Body Stands & Engine Removal
- 7 - Front End Removal
- 8 - Bulkhead 1
- 9 - Bulkhead 2
- 10 - Sills 1
- 11 - Sills 2
- 12 - Sils 3
- 13 - Sills 4
- 14 - Footwell
- 15 - Floor
- 16 - Battery Box
- 17 - Underside
- 18 - Underside protection
- 19 - A Panels
- 20 - Wings & Front Panel
- 21 - Front Panels & Arches
- 22 - Rear Subframe
- 23 - Return From Paint
- 24 - Brakes
- 25 - Wiring
- 26 - Engine 1
- 27 - Engine 2
- 28 - Fitting Engine
- 29 - Interior, Glass, Lights
- 30 - Wheels & Tyres
- 31 - Finishing Touches